
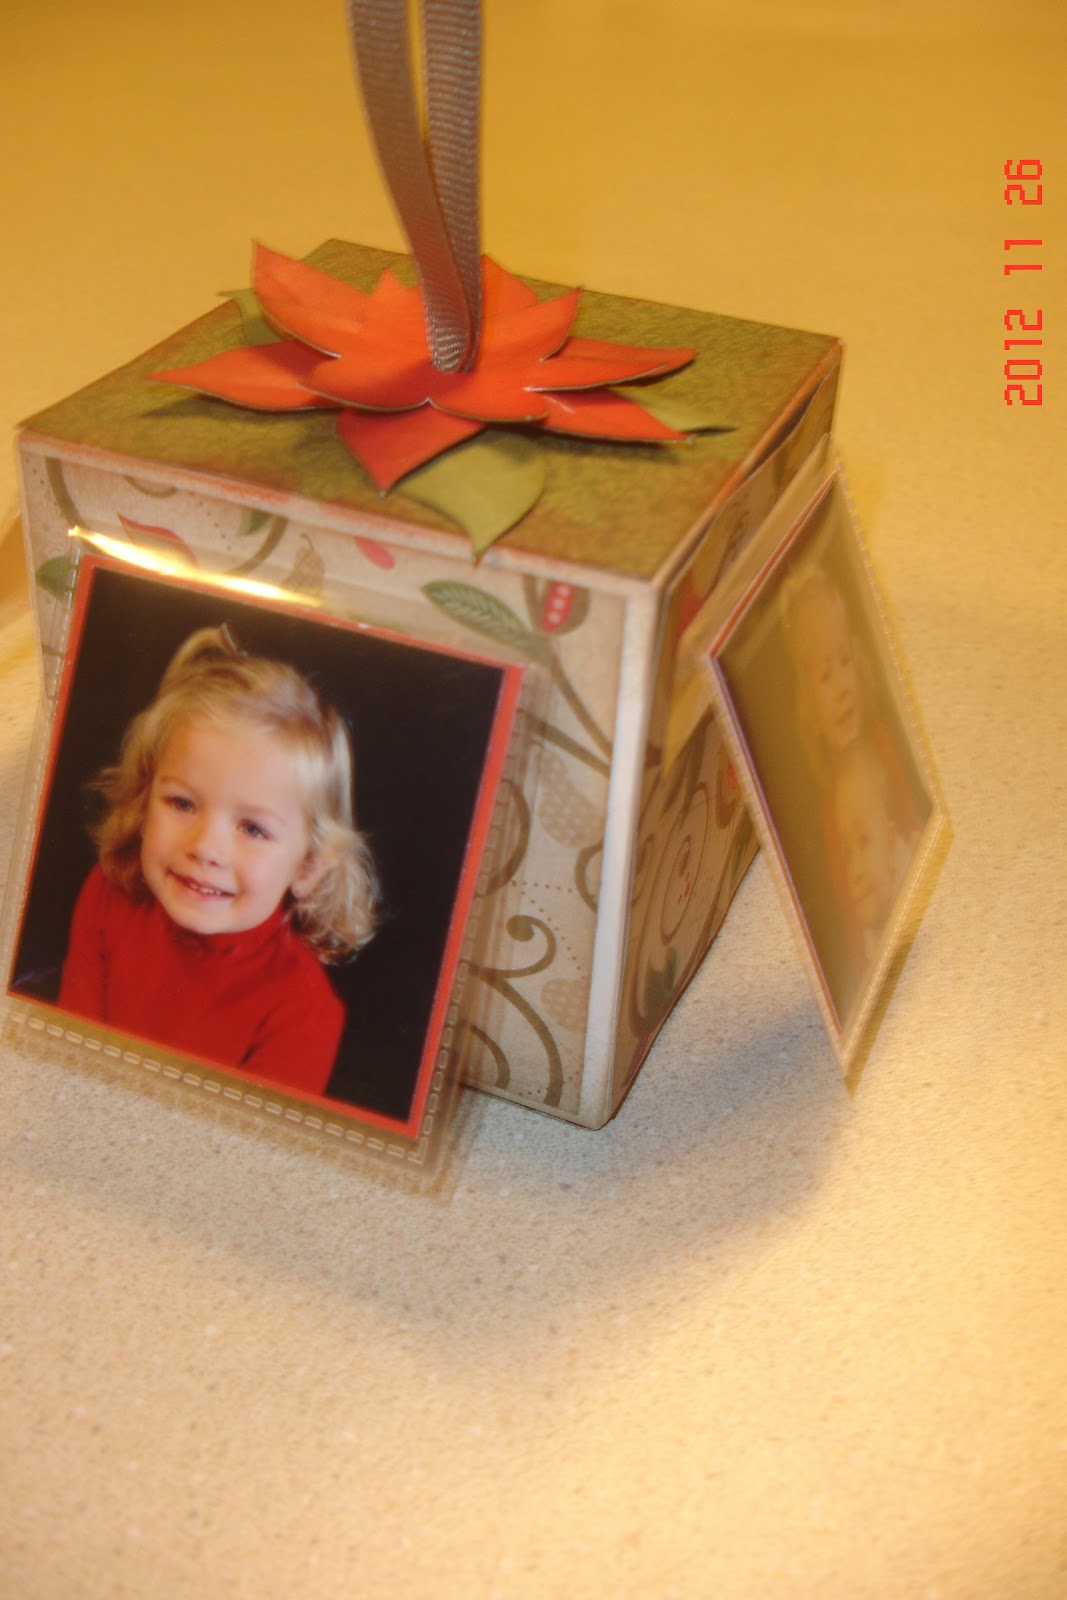
Ornament Creation Cube:
Cut 6 nearly 3” x3” B & T papers, ( I used bulk Partridge and Pear and used 4
sides the same side, top and bottom the opposite side of paper).
Attach with Bonding memories glue, after distressing box and
edges of paper with coordinating ink.
Use scissors to poke a hole in the center top of the box.
Use your quilling tool to hook onto a desert sand ribbon
that has been knotted together in a loop, to push the knot through that slotted
hole.
Place 4-2” x2”
coordinating cardstock pieces (I used cranberry) in the 4 smallest mini-flip
flaps from the small pack of flip flaps.
Attach your flip flaps to each of the 4 sides. Add pictures as you desire.
Cut leaves and poinsettias for the top using the CTMH Cricut
Artiste Cartridge!
Make sure the Real size function key is pressed for the
flowers! One is cut at 2.8” and the
other is at 2.1”., using Accent 3, shift and the Z key.
The leaf is cut at
1.8” using Accent 3, Shift, and 2 key.
Use the holes in
the middle of these items to thread your ribbon through as a topper, after you
“shape” the flower and leaves with the rub-on tool.
Deb Butler
CTMH Senior Director
11/2012
Beautiful ornament, Deb! Thanks for sharing the directions. Blessed Advent and Christmas to you and your family!
ReplyDeleteDeb, I'm making the ornament cube TODAY while I watch the snow fall. :) Happy New Year! And thank you for all that you do and share!
ReplyDelete